The reef does not care what certification card is in your logbook. It cares where your fin tips are. A loose flutter kick over a staghorn thicket can shear off branches that took years to grow, and a diver hovering half a metre too low can flatten living tissue that will not return on any timescale that matters to us. None of this takes bad intent. It takes a camera in one hand, a dump valve that was slower than expected, or one extra kick used to slow down. Buoyancy around coral is not a skill you pass once and forget. It is a set of small checks you run on every dive.
Run a Pre-Dive Check That Has Buoyancy in It
Most buddy checks cover air, weights, releases and the inflator, then stop. That is a good start, but it misses the details that quietly wreck your trim. Before you pull your mask down, work through this:
- Inflator working properly, and both dump valves — shoulder and hip — moving freely.
- Weights evenly loaded and easy to reach or ditch, whether on a belt or in integrated pouches.
- Hoses routed close to the body. A console that trails along the bottom is a silt bomb.
- Camera, torch and slate clipped short with a bolt snap or retractor. A lanyard hanging past your knees will find coral even when you don't.
- Fins and mask you have actually tested recently. A fin that slips off costs you trim, and a mask that leaks costs you attention.
Anything long and dangling is a hazard waiting for a moment of distraction. In a drysuit, check the exhaust valve is not stuck against a fold of fabric; a sticking exhaust means constantly adding air, which means constant buoyancy swings right where you least want them.
Prove Your Weighting, Don't Guess
Do the weight check at the end of a dive, not the beginning. With around 30 to 50 bar left in the tank, a normal breath held and the BCD completely empty, you should float at eye level and sink slowly as you exhale. Floating higher means adding half a kilo to a kilo; sinking means taking some off. Do it in the gear and the water you actually dive in, because salt water, fresh water, a thin wetsuit and a thick one all behave differently.
Over-weighting sits behind a great deal of reef contact. It forces you to carry extra air, and that air shifts around inside the bladder as you change depth and position. The result is a diver rising and falling with every breath, forever correcting, never quite settled. Distribution matters as much as total weight: if your legs sink, move a little weight to trim pockets on the upper tank. If your feet float, a small amount at the ankles can bring you flat.
Trim: Fins Behind You, Not Below You
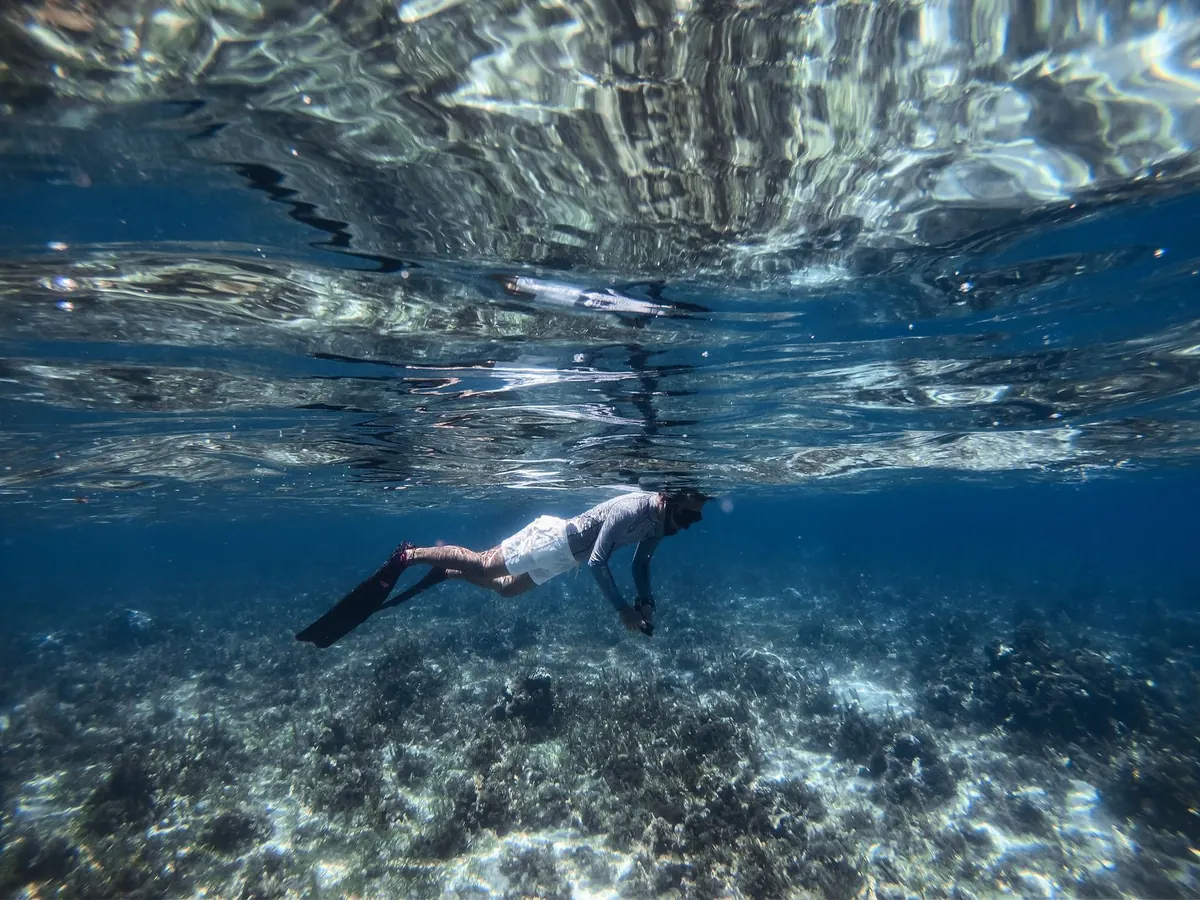
If your body is vertical, your fins point straight at the reef. That is the whole problem in one sentence. Horizontal trim — chest down, knees slightly bent, fins up behind you — puts the vulnerable parts of you away from the coral and makes every kick drive you forward rather than down. Practise it in open water where there is nothing to hit. Fold your arms, stay still, and see how long you can hover without sculling. Most divers find they last about fifteen seconds before the hands start moving.
Look forward at roughly forty-five degrees rather than straight down. It keeps your head up, your body level, and your eyes on where you are going instead of on the coral beneath your chest.
Use Your Lungs Before You Touch the Inflator
Close to the reef, your lungs are the finest buoyancy device you own. A slow, full breath gives a gentle lift; a long exhale lowers you. The inflator is for coarse changes — travelling, holding a safety stop, compensating for depth. It is far too blunt an instrument for the last metre above a coral head.
Build the habit of starting every ascent early, because a dump valve takes a moment while expanding gas takes no time at all. And ride the swell rather than fighting it. On a surging site, time your movements with the water's push and pull: approach the reef on the inhale, ease back on the exhale. You will use your hands far less, which is exactly the point.
In-Water Habits That Keep Coral Out of Reach
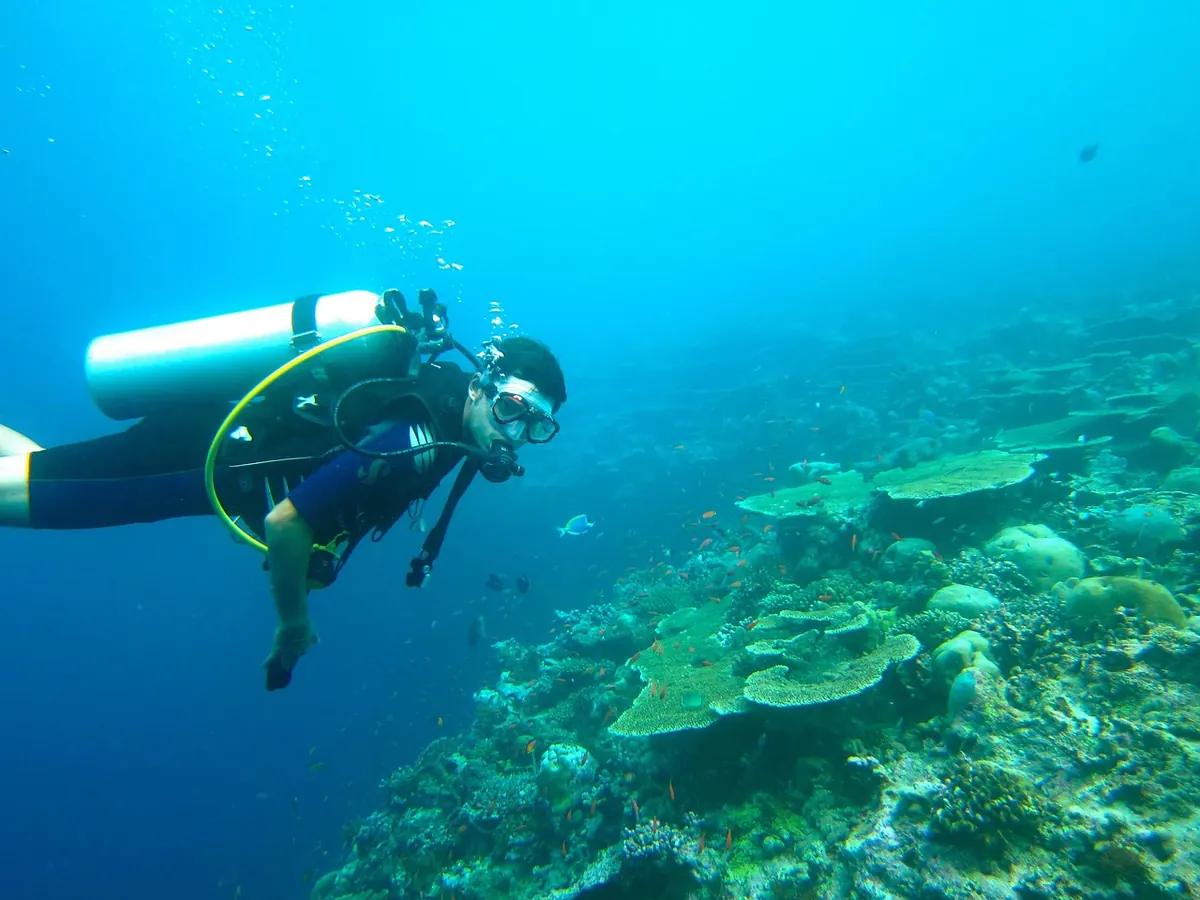
A metre of clearance stops most accidental contact and still gives you room to react. Hover rather than kneel — there is almost always sand, rubble or open water nearby where you can rest. Never use coral, sponge or live rock as a push-off point, however light you think the touch will be. Keep your hands tucked against your body, holding a torch or a camera housing, or simply folded. Check behind you before you turn, because a helicopter turn done clumsily sweeps your fins through everything in a wide arc.
Three contact risks worth naming
- Fins — the most common cause of damage, usually from flutter kicking while vertical or too close to structure.
- Knees, hands and body — from resting, posing for a photograph, or bracing against surge.
- Gear — consoles, cameras, slates and octopus hoses that hang below your silhouette.
Gloves deserve a mention. Many warm-water marine parks ban or discourage them, and the reasoning is sound: covered hands make it easy to grab without thinking. Even where they are permitted, treat them as protection from cold rather than permission to touch.
Fins, Silt and the Damage You Cannot See
Over sand or silt, poor finning starts as a visibility problem and becomes a coral problem. A hard flutter kick near the bottom lifts a cloud that drifts onto polyps and stresses everything it settles on. Learn a frog kick for travelling over silty ground, a reverse kick for backing out of a tight spot, and a helicopter turn for changing direction without a sweep. If you do raise a cloud, stop, hover and let it settle before moving on. Swimming through it only spreads it further.
Descents matter too. A controlled descent down an anchor or mooring line keeps you from dropping onto structure, and a feet-first descent with a little air in the BCD is a reasonable alternative where there is no line. What you want to avoid is a fast, uncontrolled drop with a hand out to catch yourself.
Before You Splash: Thirty Seconds Well Spent
Run through this on the surface, every dive:
- Weight check done recently, in similar gear and similar water.
- Inflator and both dump valves working; BCD empty for the descent.
- Everything clipped short, nothing hanging below your hips.
- A plan for the first two metres — line, sand, or clear open water.
- A distance rule agreed with your buddy: no closer than a metre, and if you do move in for a closer look, hover rather than rest.
The best reef dives are the boring ones from the coral's point of view. No contact, no silt, nothing to repair. If you are rusty after a break, spend the first ten minutes over sand or in open water practising your hover and fine breath control before you go anywhere near structure. A little boredom at the start of a dive buys you a lot of reef at the end of it.
Photo: FonthipWard / Pixabay