A nano reef is one of the most rewarding things you can put in a living room — and one of the least forgiving. Forty litres of seawater will swing in temperature, salinity and alkalinity far faster than four hundred, which is why the tanks that look effortless online are usually the ones where somebody did a lot of boring preparation first. The good news is that a small marine aquarium is entirely achievable on a modest budget, provided you set it up in the right order.
What counts as a nano reef?
There is no strict definition, but most reefers would call anything under roughly 100 litres a nano, with 30–60 litres being the comfortable middle ground: big enough to stay stable, small enough to sit on a sideboard without a dedicated fish room.
The appeal is obvious. You use less salt, less water and fewer pumps, and a water change takes ten minutes with a jug rather than an hour with a barrel. The catch is proportion. A single litre of evaporation from a 40-litre tank changes salinity far more than the same litre lost from a 400-litre system, and one dead snail can push ammonia up overnight. So build for stability rather than volume: automatic top-up, a reliable heater, and a test routine you will actually keep to.
The equipment that earns its place
You do not need much, but you do need the right things. An all-in-one tank with a rear filtration chamber is the simplest starting point, because the plumbing, pump and media baskets are already sorted.
- Tank and stand: glass, rimless or braced, with a rear chamber for filter media.
- Lighting: a controllable LED on a timer. Soft corals and most LPS do well under a mid-range reef light; SPS need considerably more output.
- Flow: as a rough guide, aim for 10–20 times the tank volume per hour, split across two small powerheads rather than one large one. Two pumps give more varied flow and mean a single failure is not a disaster.
- Heater: 50–100 W for a small tank, plus a separate controller or at least a second thermometer. Most reef tanks run happily at 25–26 °C.
- Refractometer or salinity pen: cheap and essential. Check it against a reference solution before you trust a single reading.
- Test kits: alkalinity, calcium, magnesium, nitrate and phosphate, plus ammonia and nitrite for the cycle. These matter far more than any gadget.
- RO/DI unit and a good salt mix: the biggest single upgrade to your water quality.
- Worth adding later: a small protein skimmer, an auto top-off unit, and a TDS meter to check your RO water.
Second-hand kit is fine and common in the UK hobby, but ask how old the heater and pumps are. Heaters are the component most likely to fail, and a stuck heater in a nano can cook everything in an afternoon.
Water: the part nobody can skip
Tap water is the enemy. Even good UK tap water carries nitrate, phosphate and traces of copper that corals tolerate badly, and the chlorine or chloramine will knock back your filter bacteria. Use reverse osmosis water, then add a reef salt mix and mix it thoroughly.
Target a specific gravity of around 1.025–1.026 (roughly 35 ppt), matched to your tank temperature, and mix a few hours ahead so the salt is fully dissolved and aerated. For the main parameters, most mixed reefs sit somewhere around 7–9 dKH alkalinity, 400–450 ppm calcium and 1300–1400 ppm magnesium. Chase stability within those ranges rather than a perfect number — corals cope with a slightly unusual reading far better than with one that moves every day.
Test alkalinity at least twice a week in a nano. It is the parameter that drifts fastest, and the one most closely tied to how well stony corals grow.
Cycling: the boring bit that saves you money
Cycling is simply growing the bacteria that convert fish waste into nitrate. Until that population exists, any livestock you add is swimming in its own poison. There are no shortcuts worth taking.
- Set up the tank with rock, sand, saltwater, heater and pumps running. Dry rock plus a bottled bacteria starter works well; cured live rock is faster but can bring hitchhikers such as aiptasia or bristleworms.
- Add an ammonia source — a small pinch of fish food each day, or a measured ammonia solution if you prefer to be precise.
- Test ammonia and nitrite every couple of days. You will see ammonia rise, then fall, then nitrite rise and fall in turn.
- When both read zero while you are still feeding, the tank is cycled. Expect three to six weeks with dry rock, sometimes longer.
Almost every beginner mistake happens here: adding fish the day after the tank clears and then wondering why everything looks ill. Stock slowly, and let the bacteria catch up with each addition.
Your first corals
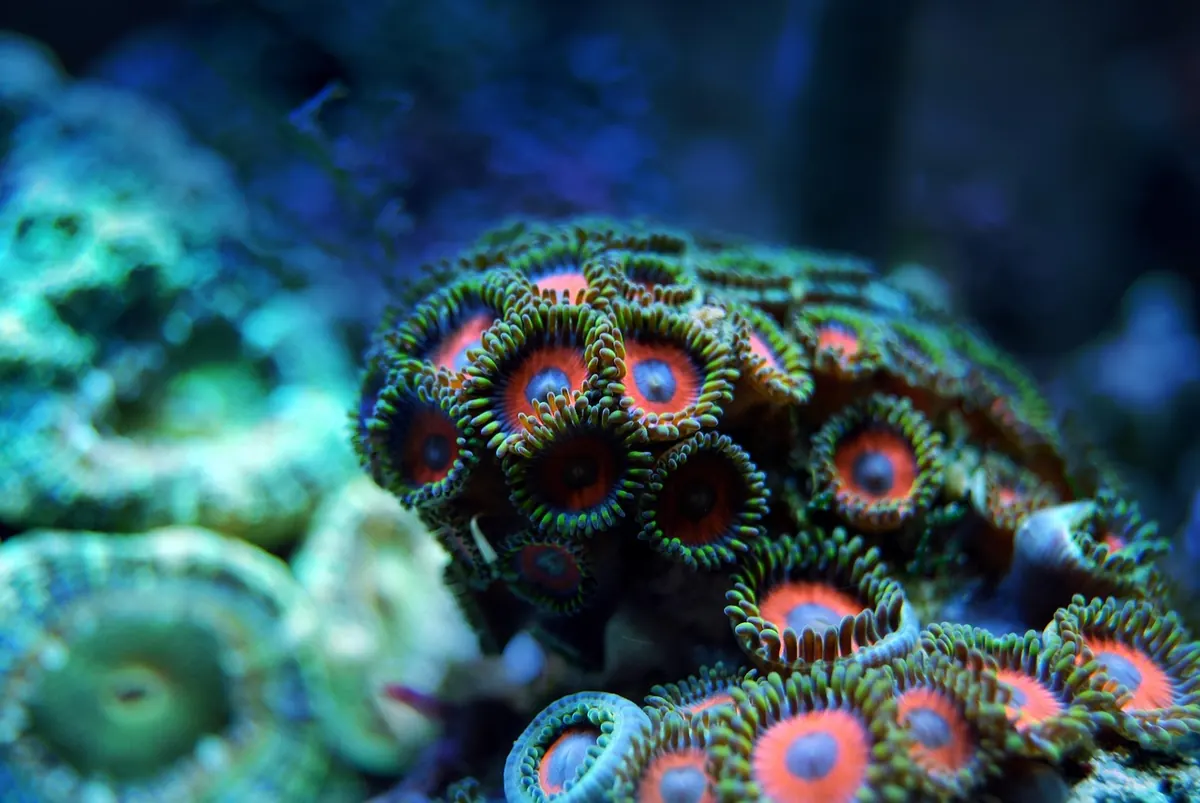
Start with corals that forgive a beginner. Soft corals are ideal: zoanthids, disc mushrooms, leather corals such as Sarcophyton and toadstools, and green star polyps. A word of caution on zoanthids — some Palythoa species carry palytoxin, so wear gloves, avoid handling them with cuts on your hands, and never boil or scrub live rock in the house.
Green star polyps and xenia grow quickly and will happily overrun a small tank, so isolate them on their own rock island where the sand or bare glass can act as a barrier.
Once soft corals are settled, add forgiving LPS: candy cane (Caulastrea), duncan, acans and blastomussa. Euphyllia — hammers, frogspawn and torches — are stunning in nanos, but their sweeper tentacles sting, so leave a clear gap between colonies and keep torch corals particularly well separated.
Place new corals low in the tank and move them up over a fortnight so they adjust to your light. Dip every coral before it goes in, and resist SPS such as Acropora and Montipora until your parameters have held steady for three or four months.
Keeping it steady week to week
A short, dull routine beats enthusiastic bursts of attention. Change 10–20 per cent of the water weekly with fresh saltwater at matching salinity and temperature. Top up evaporation daily with plain RO water — not saltwater — or let an auto top-off unit do it. Swap filter floss every few days, rinse media, and clean the glass so light gets through.
Feed lightly. A nano tank has very little dilution capacity, and uneaten food becomes phosphate and nitrate within hours. Target feeding LPS a couple of times a week is plenty, and always switch off the pumps for ten minutes so the food lands on the coral rather than in the overflow.
Where to go next
Keep a simple log of your test results, water changes and any new additions. Patterns appear quickly — a slow rise in nitrate usually points at overfeeding, and a slow fall in alkalinity means your corals are growing and consuming it.
Add one thing at a time, wait a fortnight, then add the next. If a coral sulks, check temperature, salinity and alkalinity before you change anything else, because those three explain most problems in small systems. Get through the first six months with a handful of soft corals and a pair of small fish, and you will have a tank that is genuinely stable — and far more room to grow than you think.
Photo: marcelokato / Pixabay